
Problem was a few weeks ago I received an email of post gone missing in action and did I have information, I did a check to find where I had posted it within this forum to help but with my poor computer skills I kept on drawing blanks. With the help of a friend who has a lot more computer savvy than I reported that he could not find anything, so without a further ado here is what I had posted on another forum.
Schinken
It has always fascinated me from a very early age in my teens of the whys and wherefores of doing things now instead of then. Why do things taste so good and others don’t? Of why some butchers worked hard at doing things hoping that at the end of the day there would be a little money to pay the bills, or others who seem to create things out of thin air; to decide to make something that had no recipe only to find out when he had finished he had another winner upon his hands.
Such was a humble man whom I learned a great deal from.
If one checks the internet on Schinken you will come up with numerous hits and after many hours you may find what you are looking for.
Schinken is made from pork legs weighing around 15 – 20 lbs. Usually they have been fed a diet of acorns which will add flavour to the end product. So in addition to salt being used for curing and above all garlic, pepper, coriander and juniper berries are used.
http://www.schwarzwaelder-schinken-verb ... erstellung
It seems that every producer swears by its own recipe, which is why they give their product an individual flavour.
The following is what I was taught by my good friend whose family came from the Black Forest region.
Günter always used sow legs. If anyone has had the luck to cut up a sow you will know what I am on about, they tend to blunt your knives real quick nigh on as bad as cutting up a moose. When I asked why we were using sow legs instead of the regular pork legs I knew right away I should have thought it out a lot more. Surprise, surprise the answer I got was defiantly not the one that I would have put at the top of the list.
The reason why he was using the sow legs was the fact that they contained less liquid and therefore would dry down faster. The other reason was that the pieces were large and meaty.
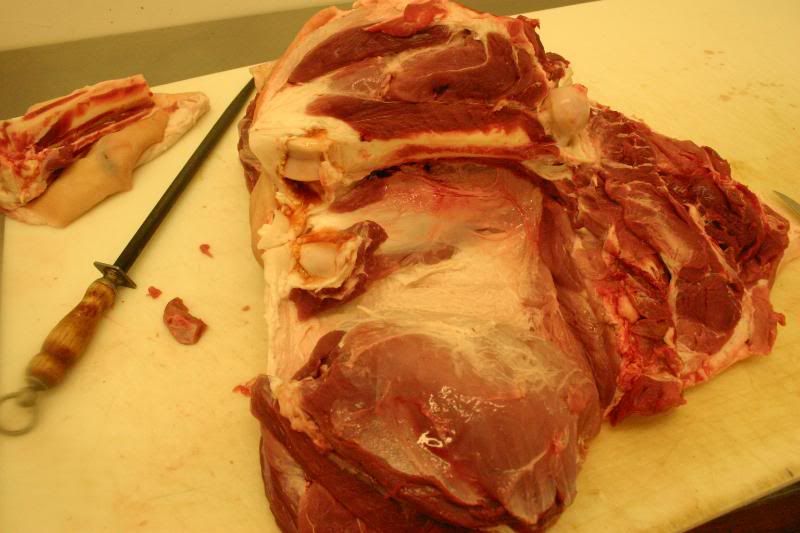
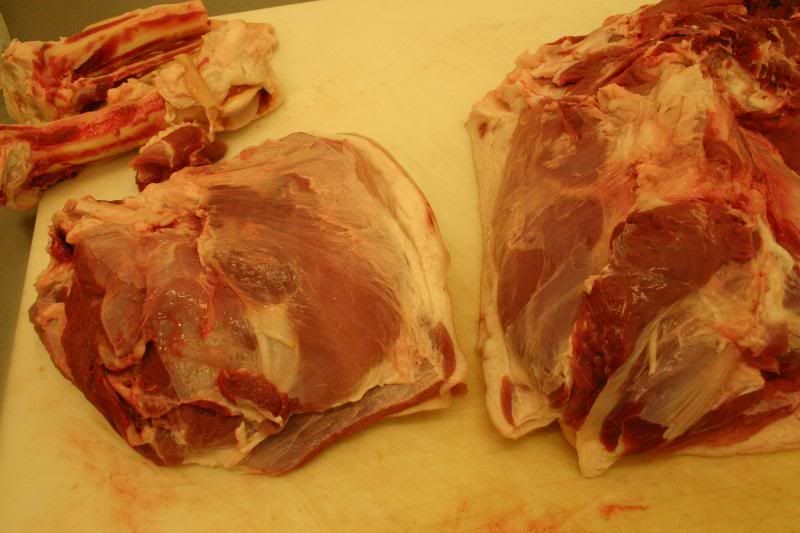
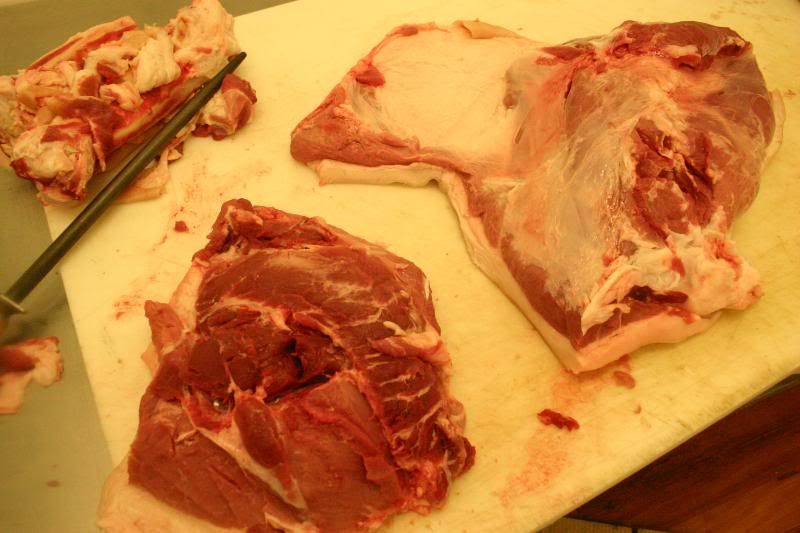
The following are some photos of the process of the boning out of the leg and what the finish pieces look like before we do the cure.
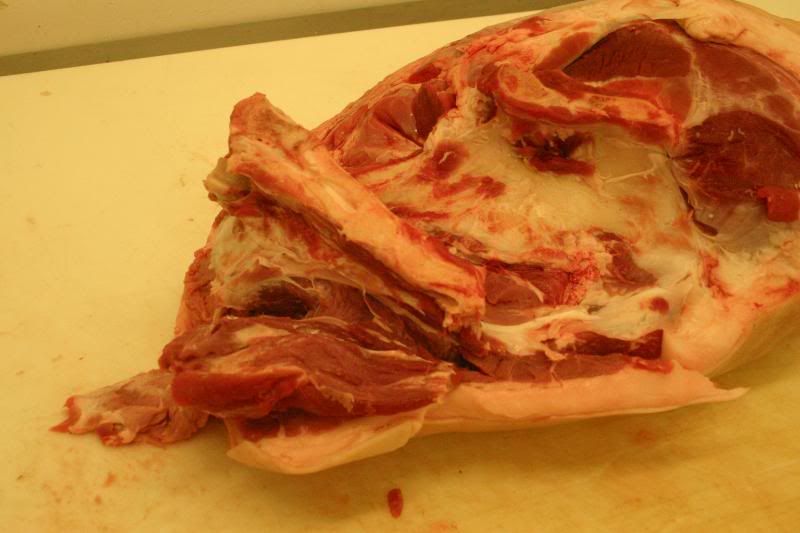
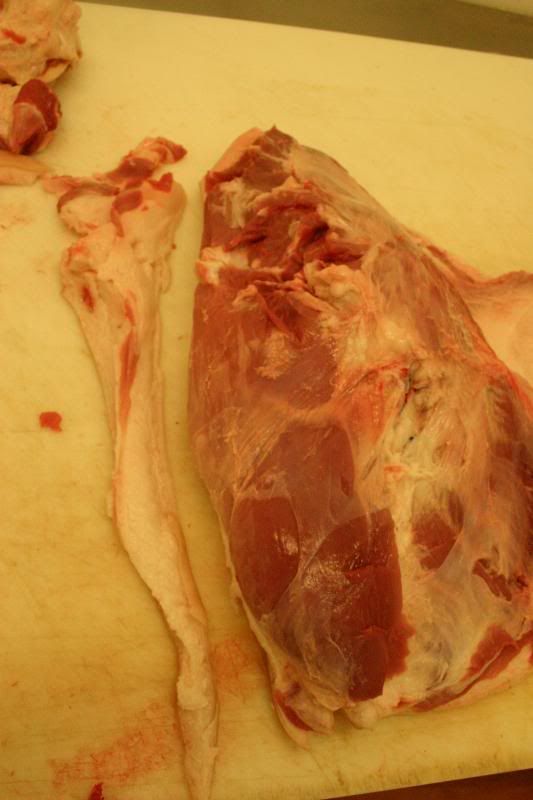
Taking out the hip bone
Getting ready to cut the tendon and separate the hip bone away from the meat
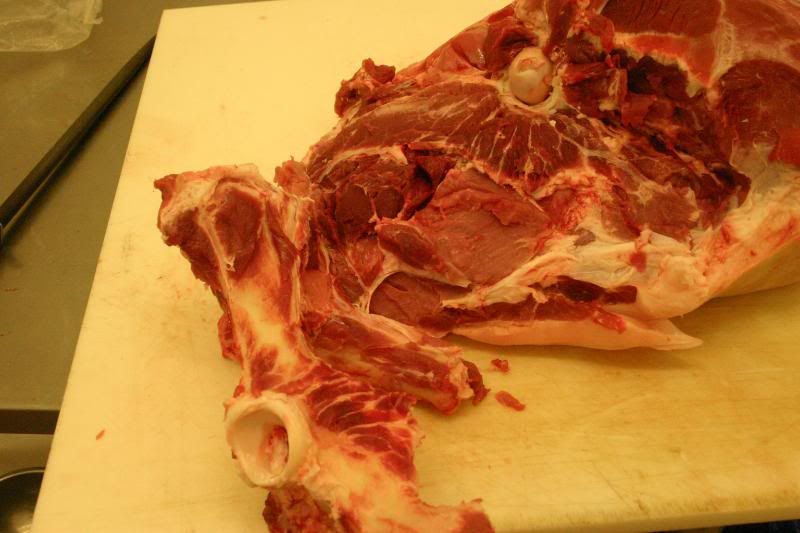
Hip bone out
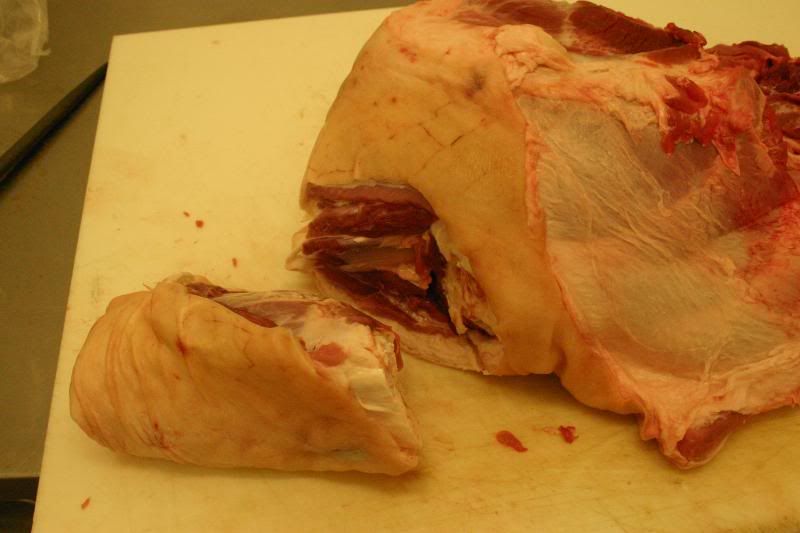
Taking off the hock [meat for sausage]
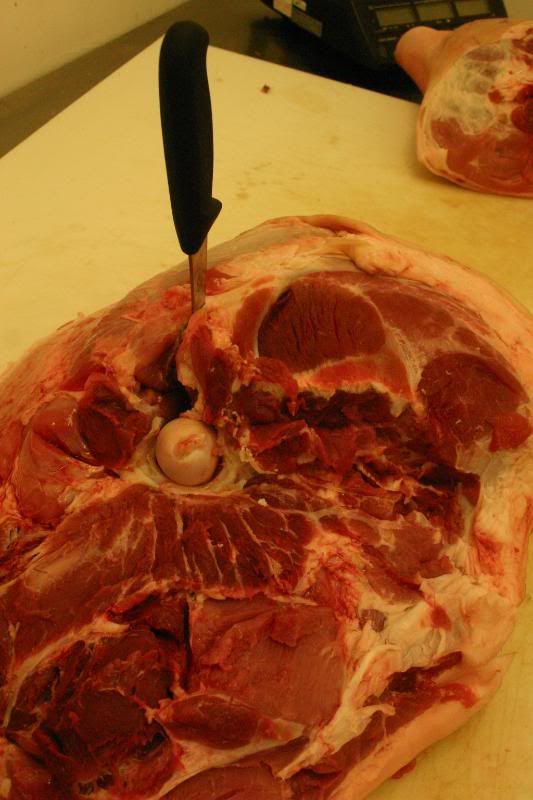
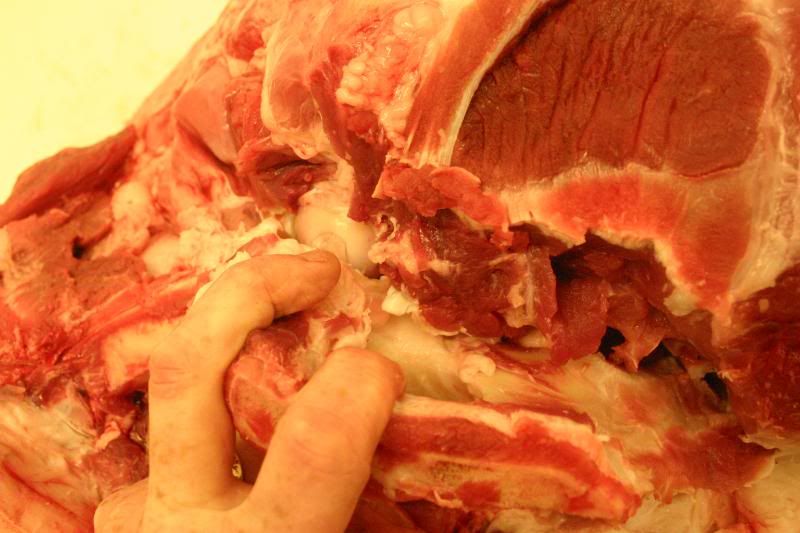
Boning knife running along the side of the bone, knife just penetrates the meat so it can feel the bone as we need to keep the cut marks to a minimum
Bone exposed, sirloin tip on the left, top round [baron] on the right and at the bottom is the top sirloin.
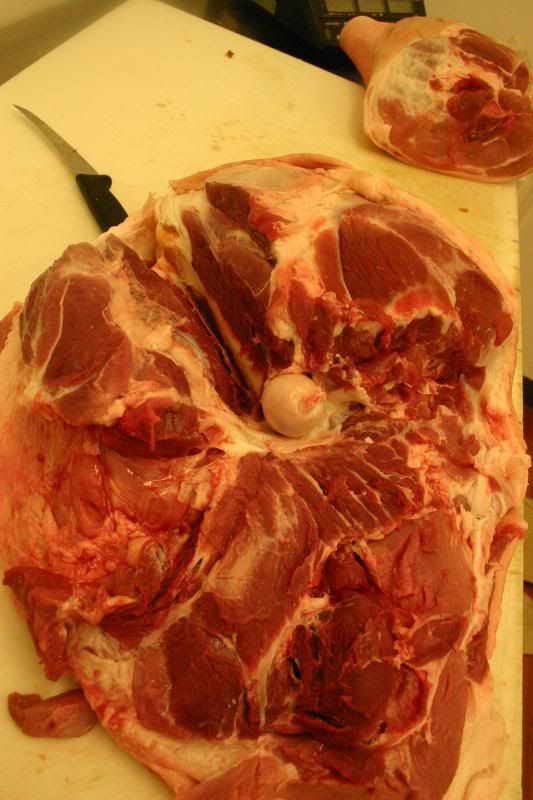
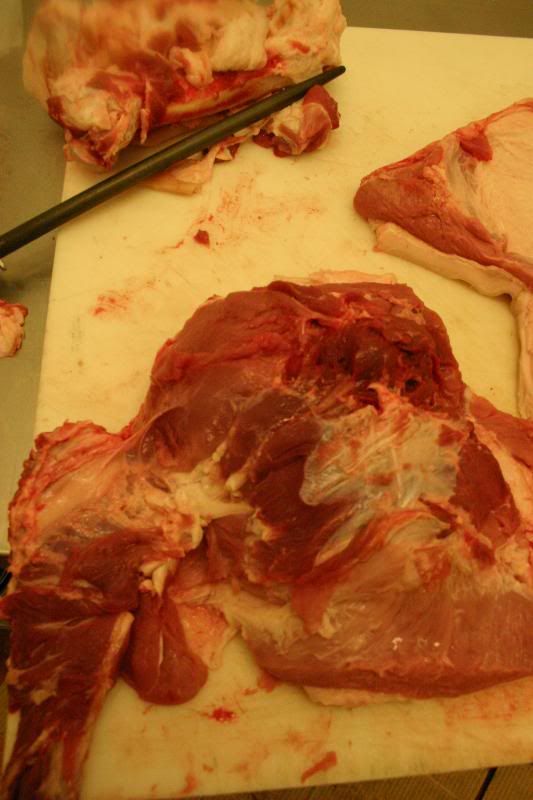
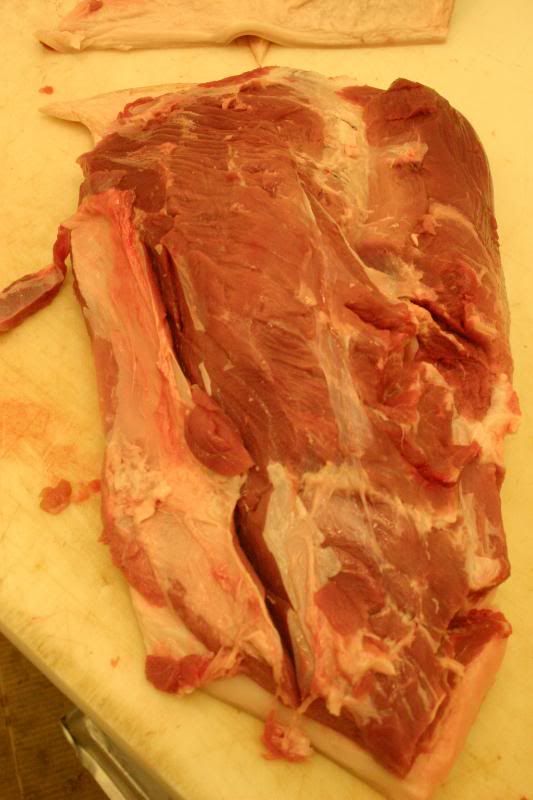
Getting ready to seam out the sirloin tip, the start of the seam can be seen in the centre just under the bone.
Sirloin tip seamed out.
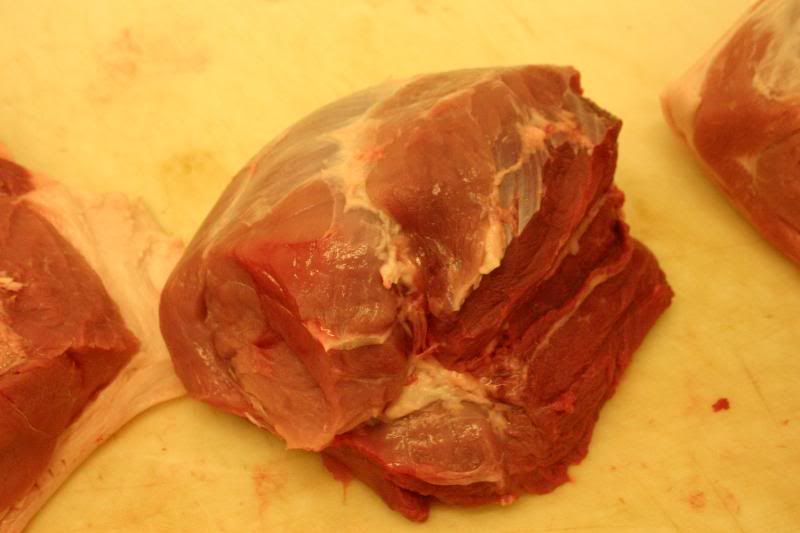
Sirloin tip cleaned up of trim and silver skin.
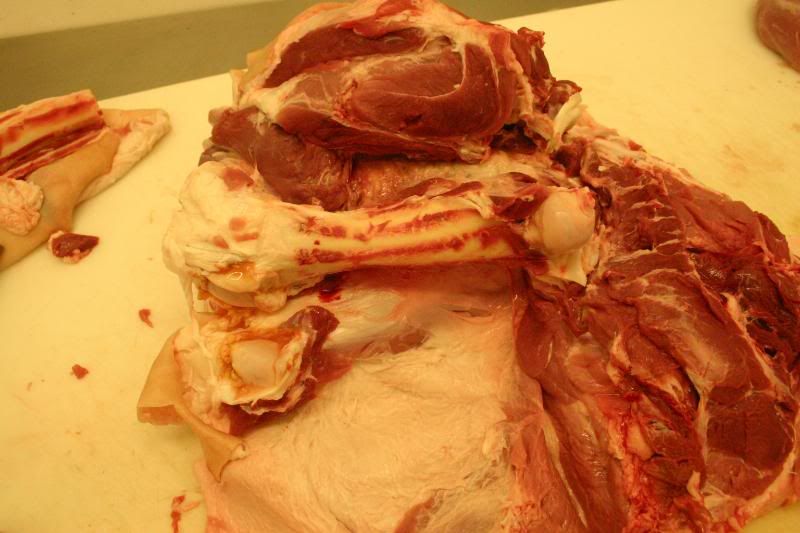
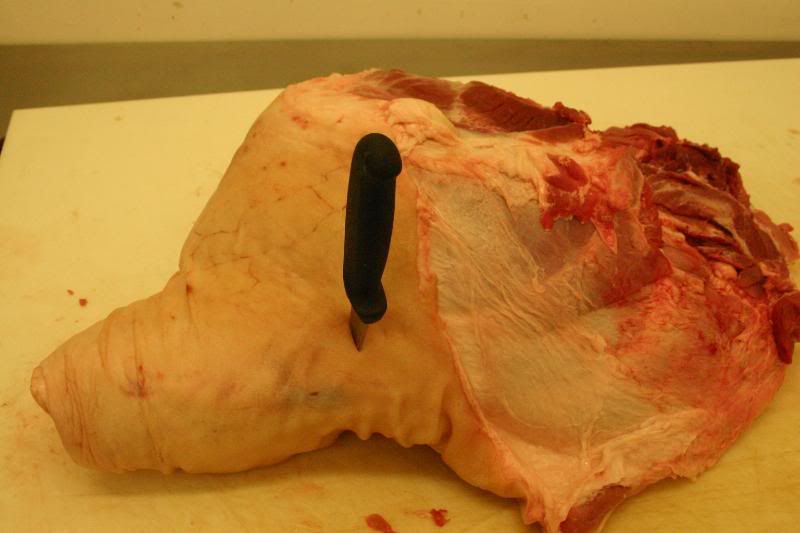
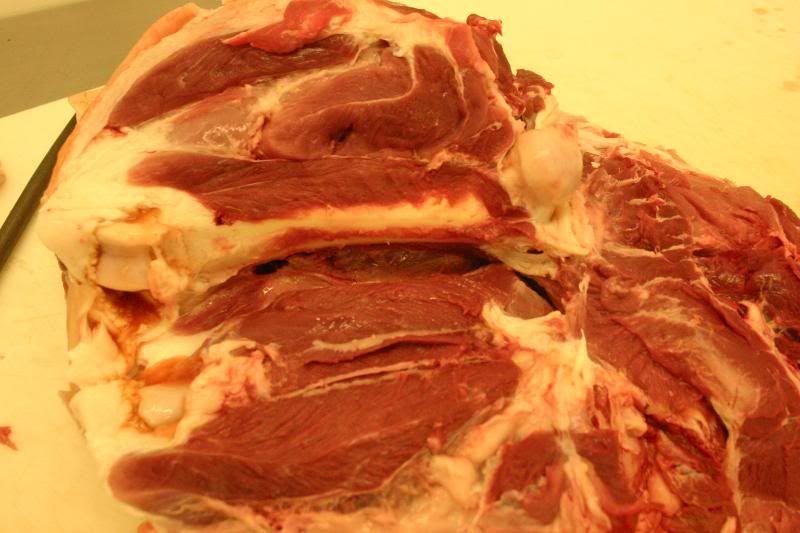
Last bone being removed
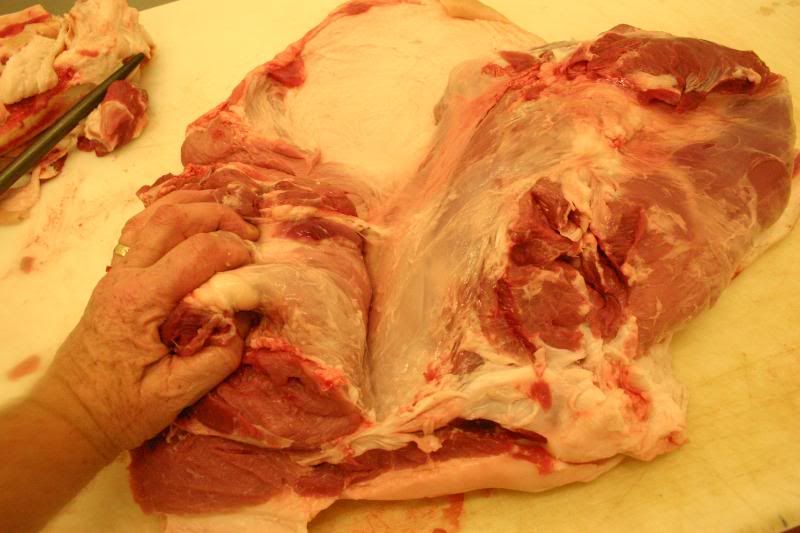
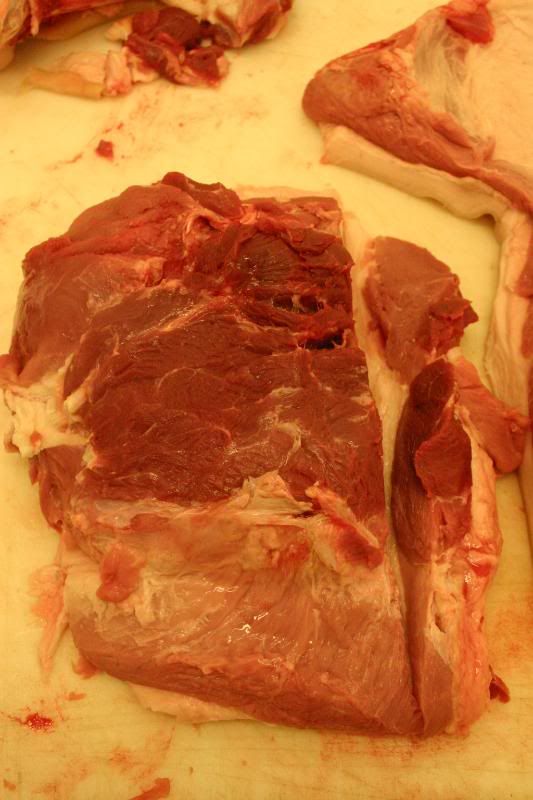
Starting to separate the top round from the bottom round [in the centre where the white part is]

Just about there
Separated
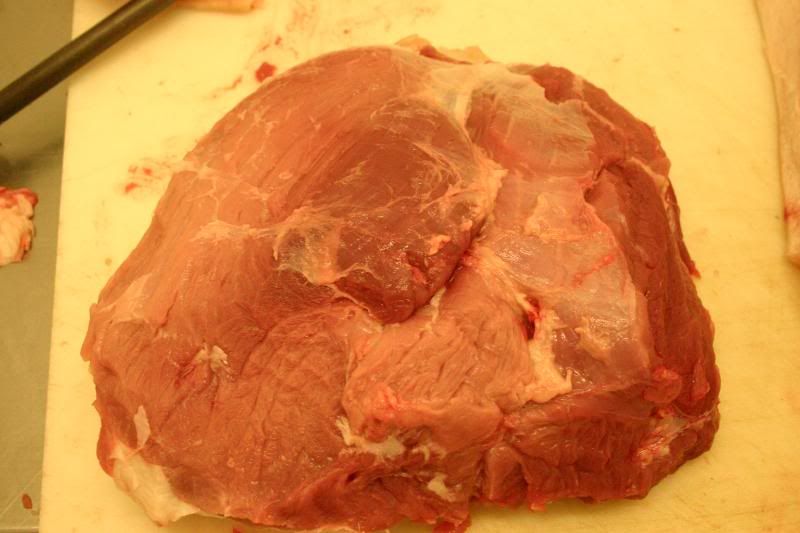
Top round cleaned and ready for salting
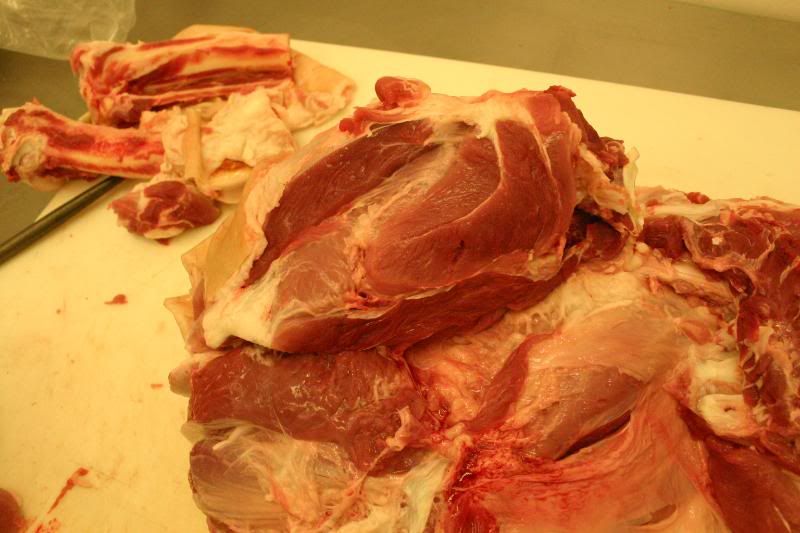
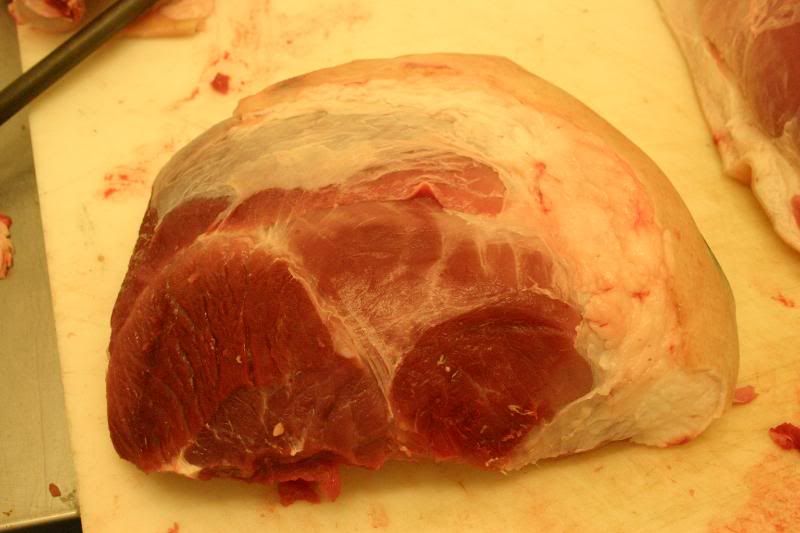
Peeling [seaming] and cutting off the top sirloin
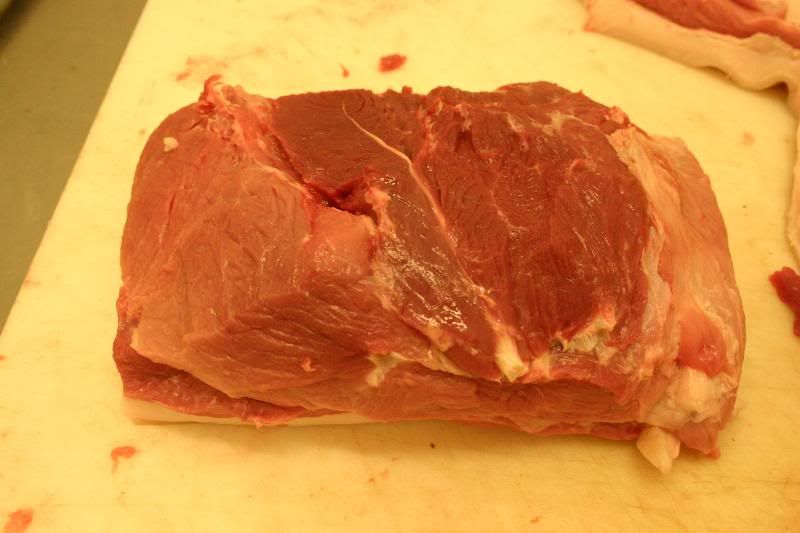
Trimming off the top as well as squaring off the sides which leaves us with a well trimmed top sirloin

Taking the heel [connective tissue/shank meat] off the bottom round
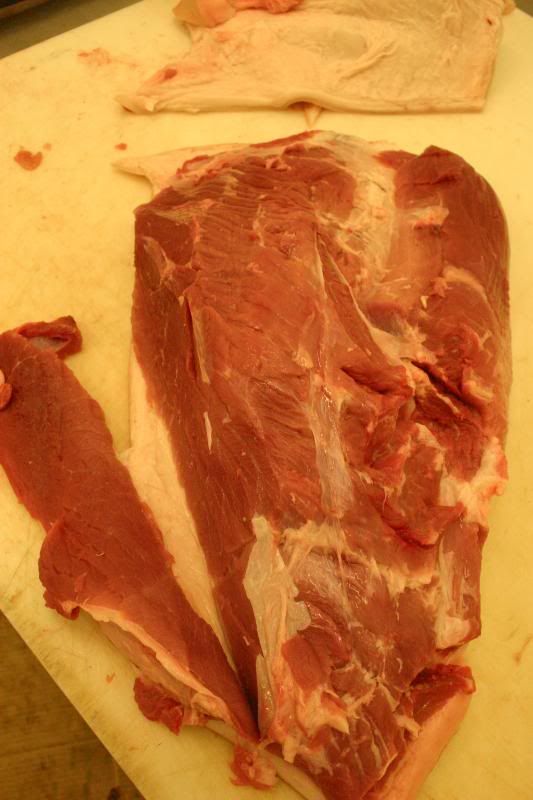
Trimming and squiring up the bottom round the bottom two photos show the tough silverskin being removed
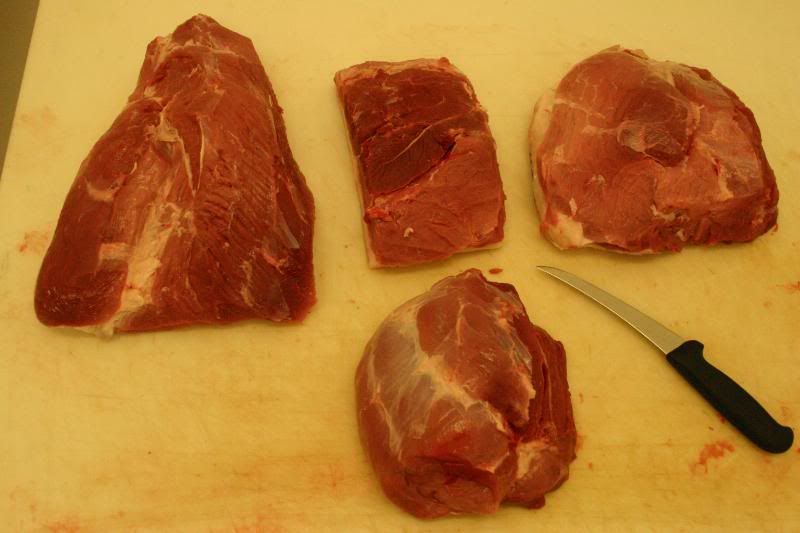
Four very large pieces cleaned and ready for salting
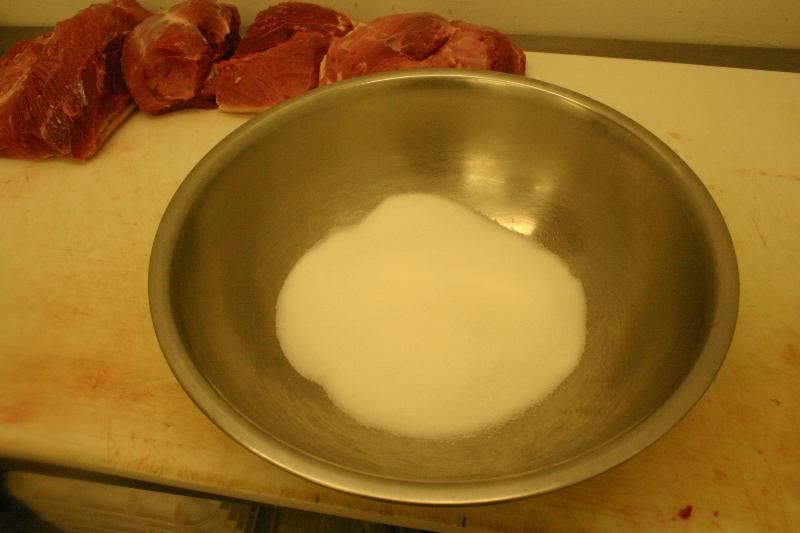
All Purpose Curing salt in a large stainless steel bowl which is ideal for the salting that I do

Top sirloin being rubbed all over to make sure the curing salt gets into the entire crevasse

All four pieces have been rubbed with the curing salt, excess has been shaken off. Note in the bottom left hand corner a plastic tray under the meat, this is there so that the meat doses not sit in the liquid that is pulled off from the meat. If this was to happen the meat will get tough
Here is the follow up to the Schinken.
As you see boning out the legs is a somewhat simple task if one takes there time. After boning out the meat it is then salted with salt and cure then placed in a plastic container elevated on tray/wire [cake] rack so that the meat will not sit in the liquid that is drawn off during the curing process. If the meat sits in the liquid that is drawn off it can and will get tough and hard.
Place the plastic container in the fridge uncovered and leave for seven (7) days. It is wise to check each or every second day to make sure that the meat is not sitting in the liquid, if a large amount starts forming just drain off.
On the fifth (5) day it is time to make the brine that we will place the meat in after it has been cured.
Brine for Schinken:
12 Lt water
12g whole peppercorns
6 large bay leaves
2 medium onions [approx 575g when peeled]
60g sugar
10g whole cloves
25g garlic [crushed/diced]
60g whole juniper berries
Place water and spices into a large pot, bring to a boil then simmer for two (2) hours.
Allow to cool overnight.
The following day strain the liquid into a clean container using a very fine strainer.
Add 675g curing salt to the liquid and mix well
after seven (7) days take the container out of the fridge and place by the sink. Take out the meat which is now cured and place it in the sink one piece at a time and run lukewarm water over it scrubbing the meat lightly with your hands to get rid of the excess salt. When all pieces of meat have been washed wash out the plastic container, once this has been done place the pieces of meat you have just washed back into the plastic container. Cover the meat with cold water [if you cannot cover with cold water place meat in a clean container in which you can] and leave for twelve (12) hours.
We used to soak for one (1) hour but I found that there was too much salt left in the product hence the twelve (12) hours.
After the soaking period take out of the water and hang, let dry for at least an hour [it’s to get rid of the excess water]
After the drying period replace into the container that you used to soak the meat, cover the meat with the brine that you made and place uncovered in the fridge making sure there are no exposed pieces of meat, Leave for seven (7) days. If the pieces are really large, leave in brine for nine (9) days.
After seven (7) days take out of fridge and rinse with tepid water, then hang to dry for one (1) to two (2) days in a cool well ventilated place.
Cold smoke for two (2) to four (4) days, I normally do four (4) days.
I usually give the product two (2) days of smoke at eight (8) hours a smoke we crack open the doors of the smokehouse overnight as we do not want the product to sweat. After the second (2) day we open the smokehouse doors to ventilate as well as to give the meat some well deserved rest. The third (3) day re-smoke for eight hours then open up the doors and give the meat another day of rest [fourth (4) day], the day after the fourth (4) day give the Schinken its final smoke [eight (8) hours.
We now transfer the smoked Shinken to the drying room which is well ventilated with a steady flow of air; the temperature is between 10 and 15 degrees C. with relative humidity at around 65%
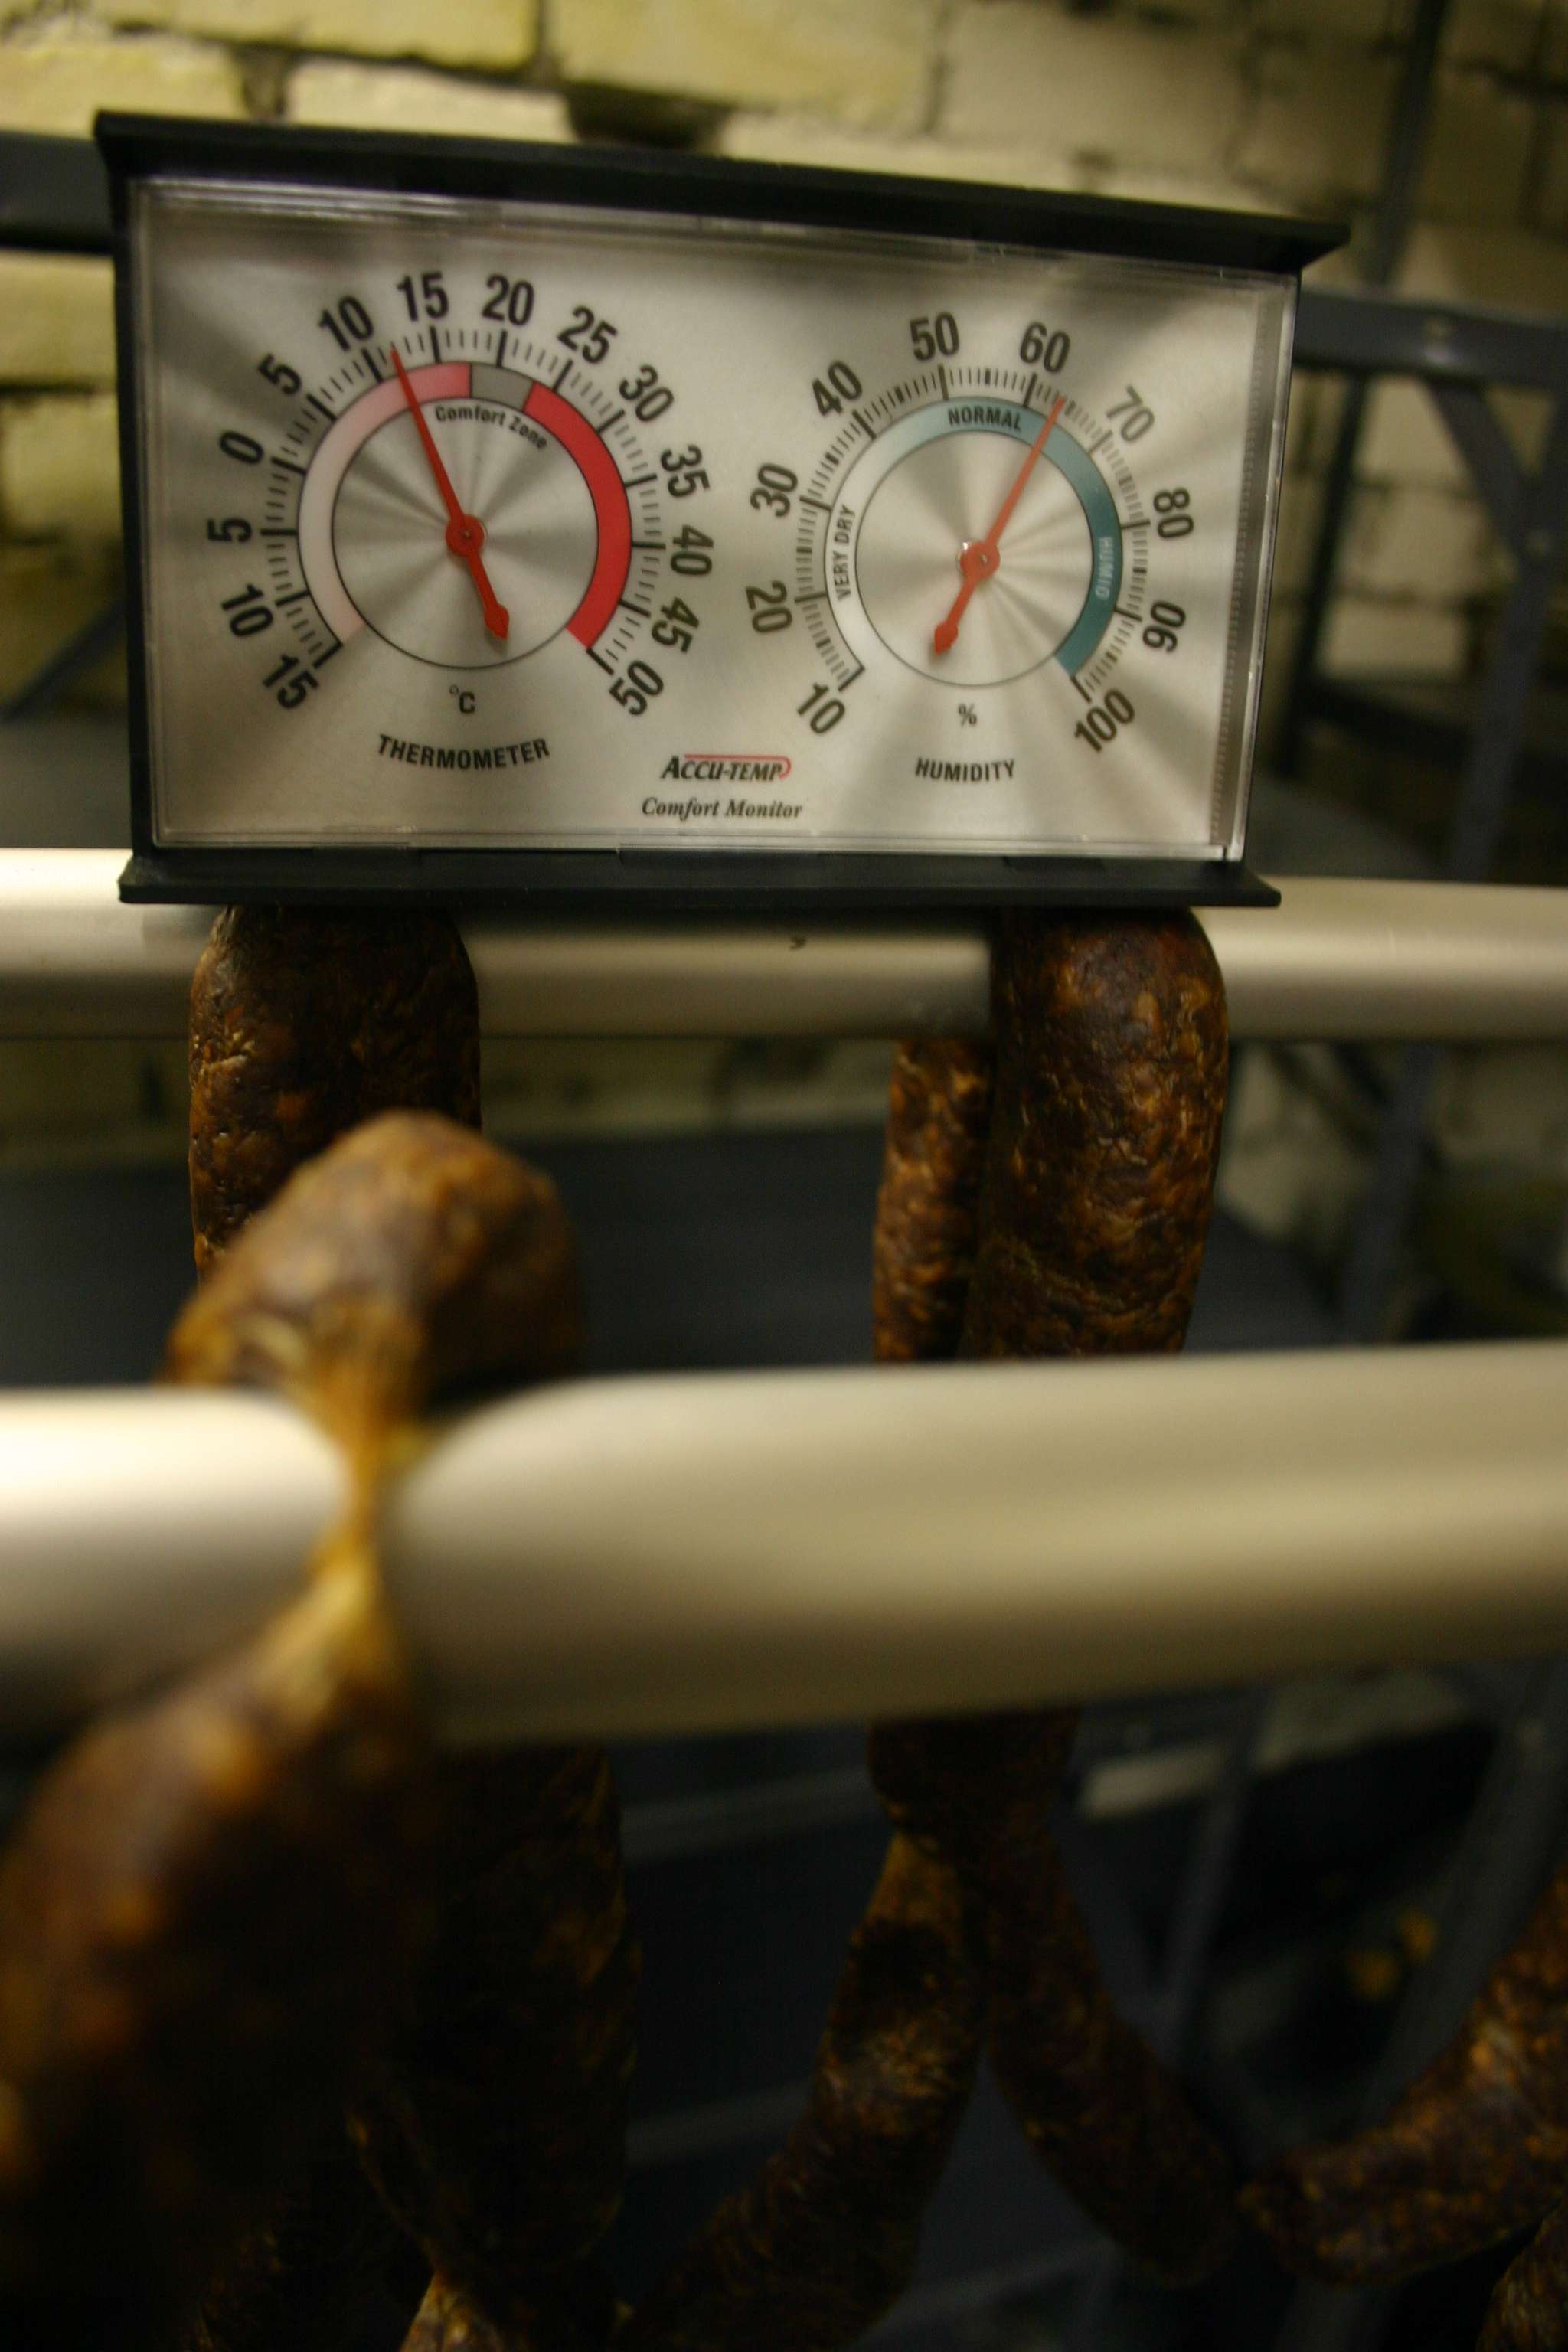
This is part of my drying room
After a given amount of time [there is no exact time frame as each place, time of year, weather conditions and probably a host of other things will and do come into affect] upon feeling [it’s a personal thing, you have to get to know your meat]. I go by feel; once the meat starts to firm up it is time to transfer it to the fridge. The advantage of transferring to a fridge is twofold;
1. The lower the temperature is the slower the drying faze when it is hot.
2. There is always higher humidity which in 99.9% of the time will prevent case hardening.

I leave under these conditions until the product feels dry to my touch then vacuum pack and yes if the product was to be weighed it will have lost the required amount of weight.
The task is easy but time consuming and at the end of the day you will have something that you are proud off. I have had chefs start spouting poetry on the virtues of this product, it was only yesterday that a chef just about begged me after tasting the Landjäger I had finished if I needed anyone to come and work for me.
There are people who do a lot better than I do [I know that for a fact] but each one of us can achieve great things if we put a little bit of ourselves into what we do.